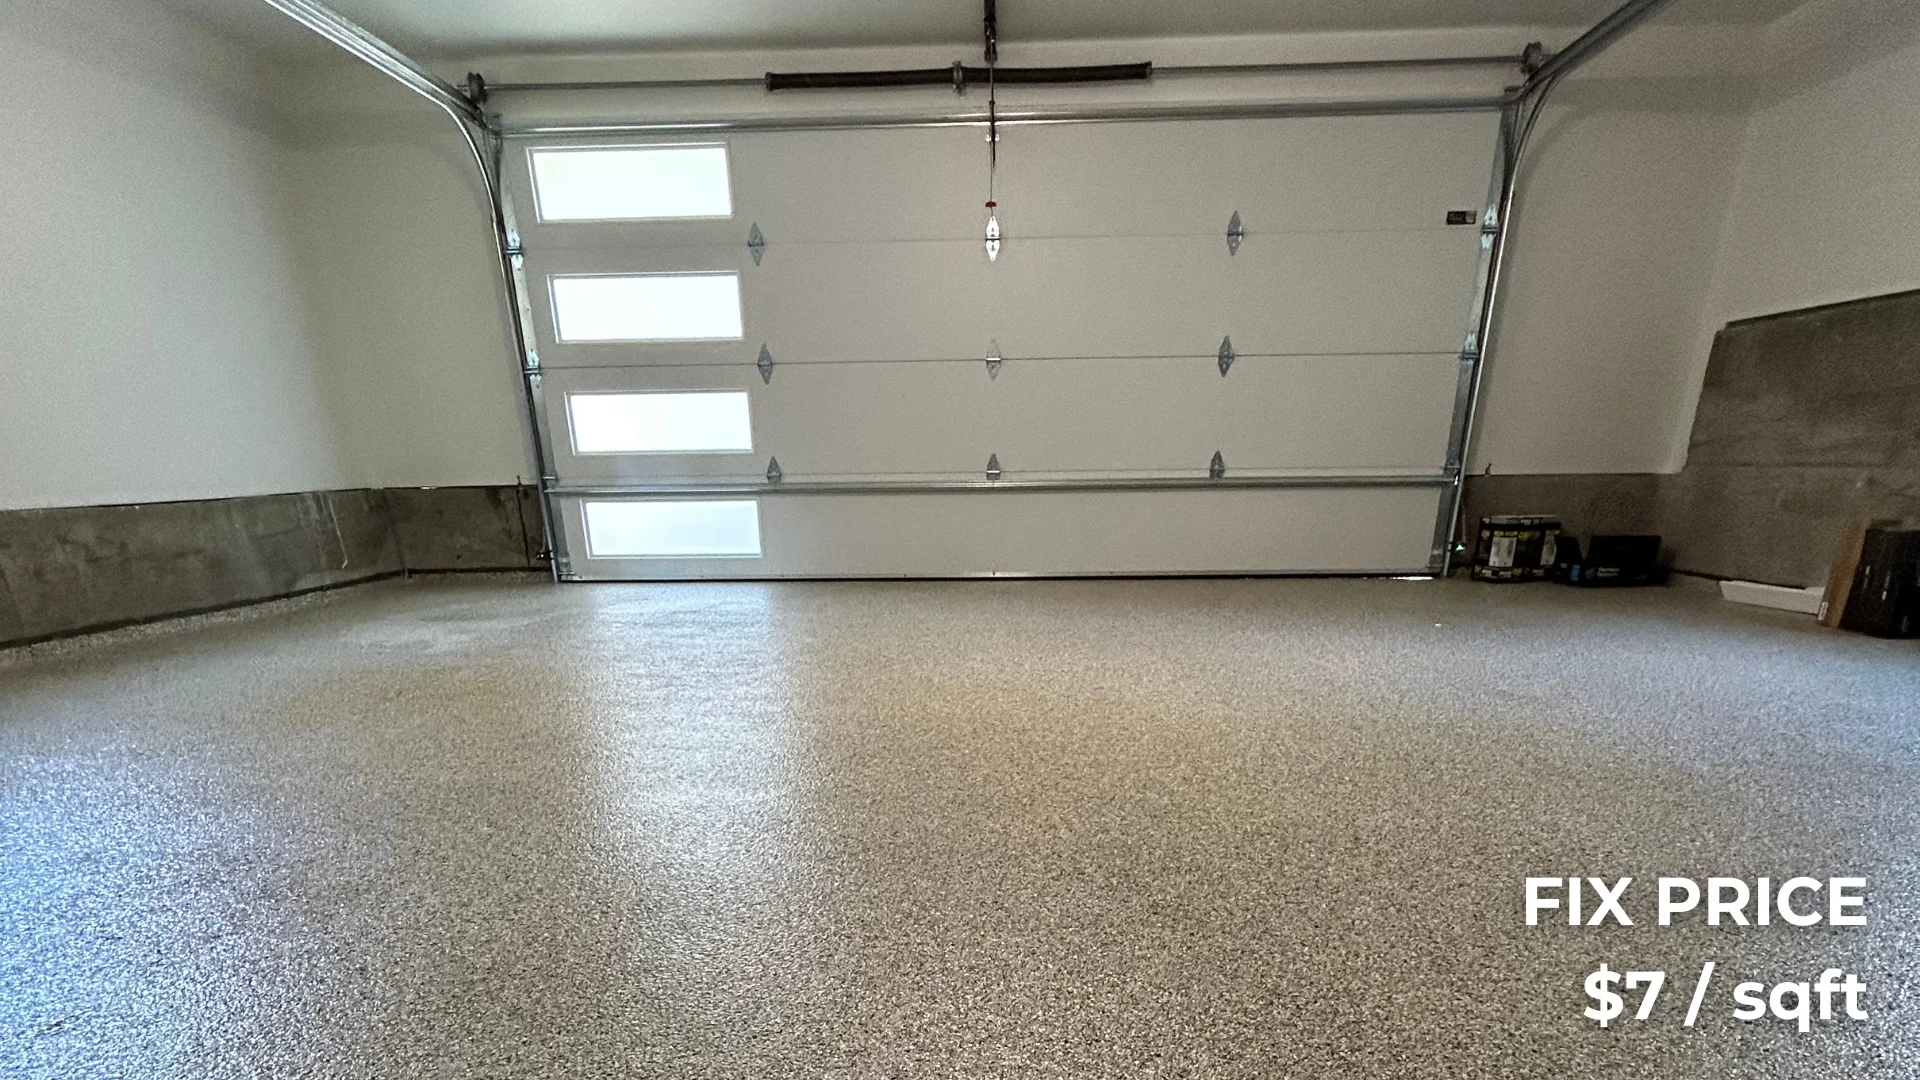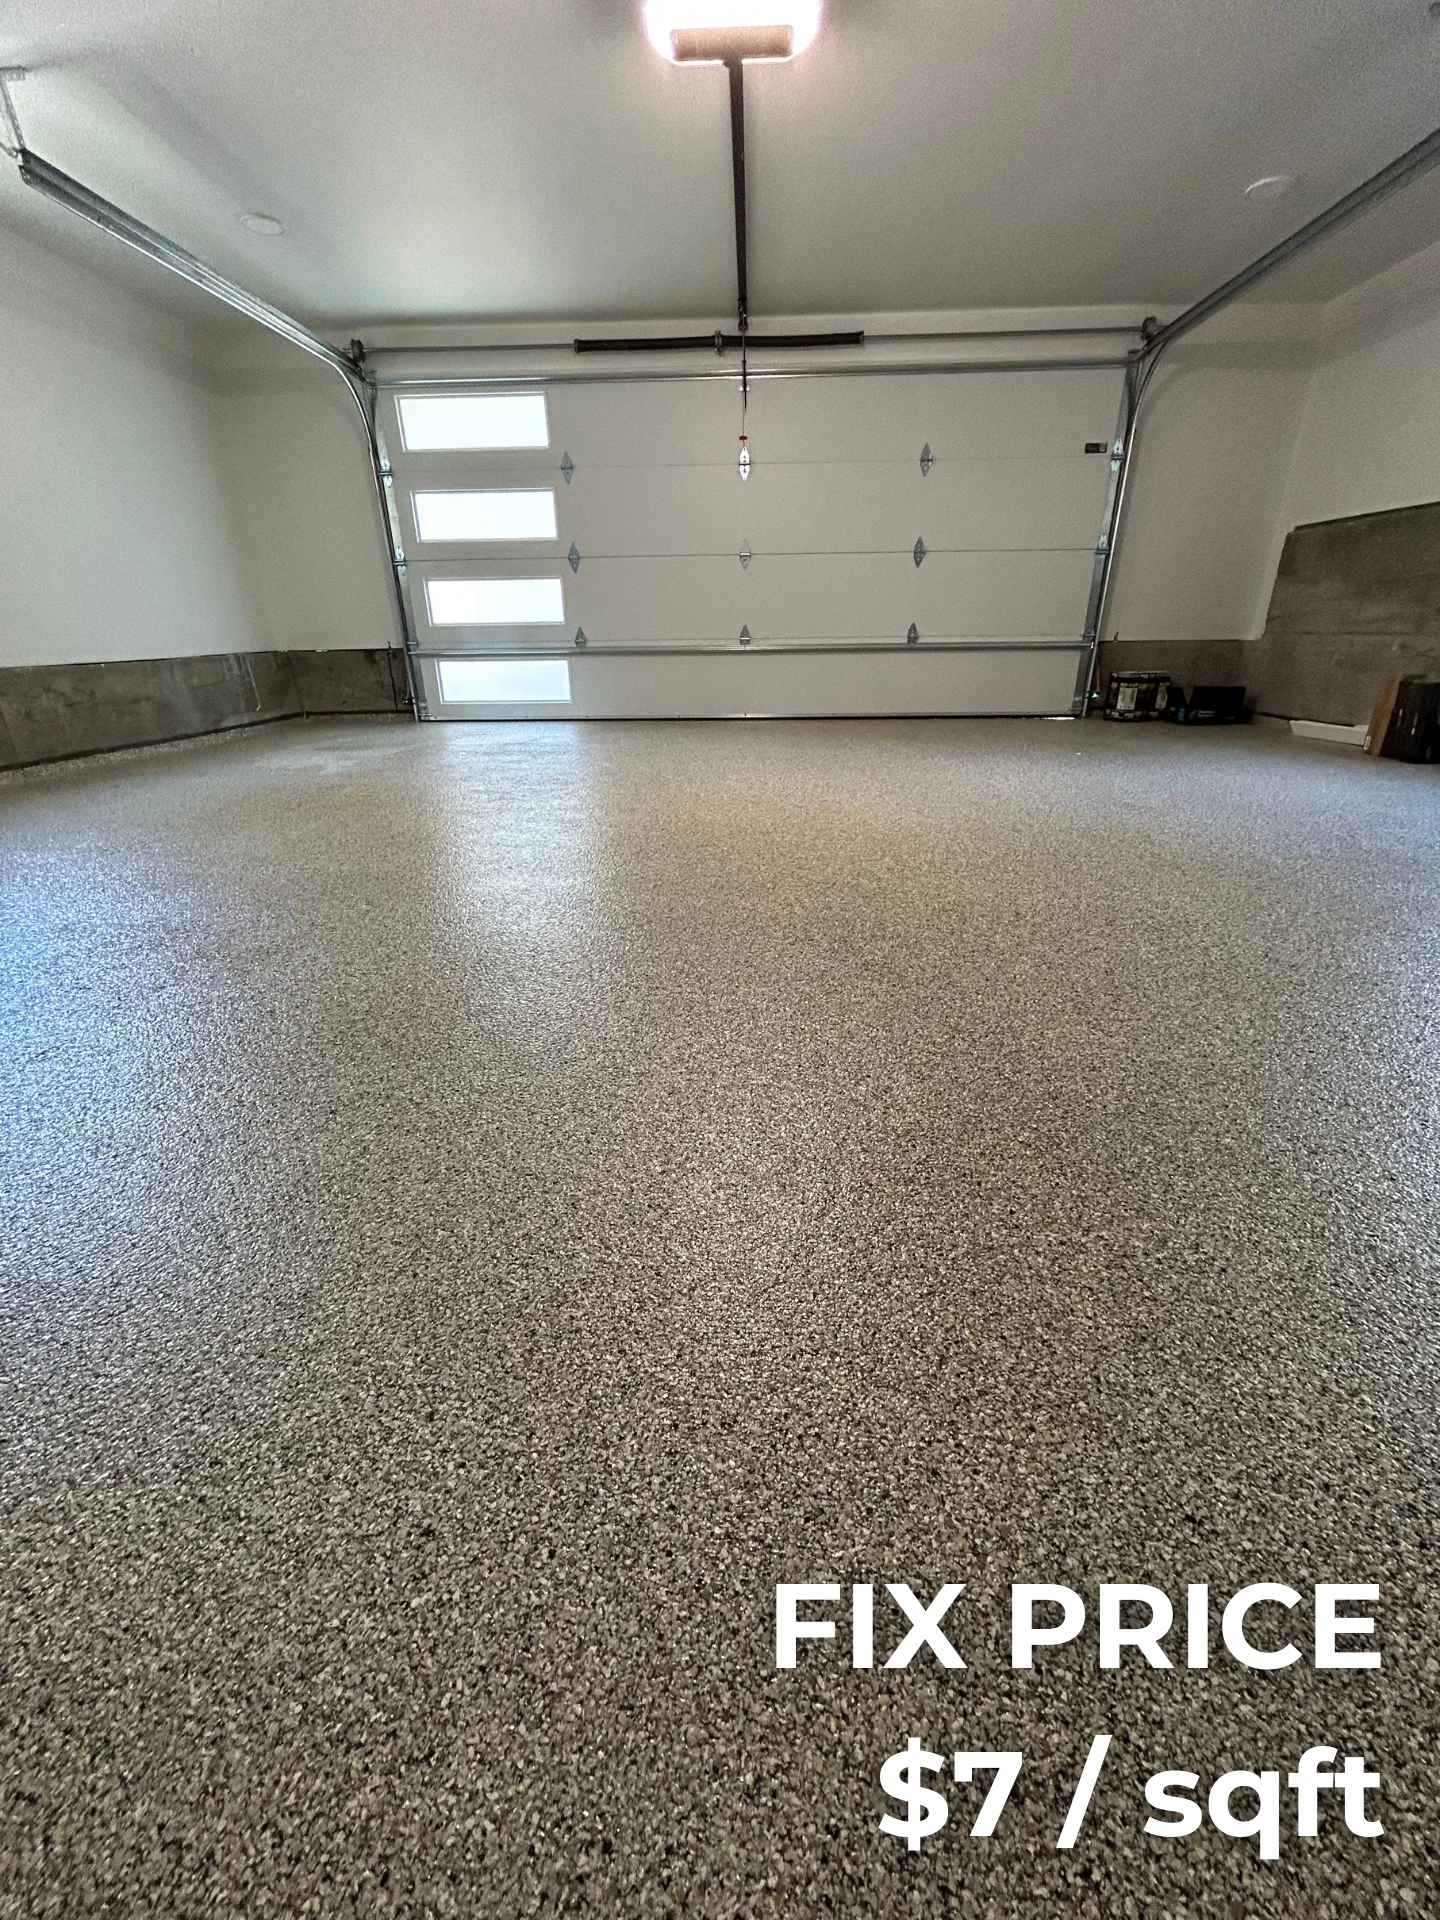

Is your garage floor looking dull, cracked, or stained? It’s time to give it a makeover with a garage floor epoxy coating. Not only does epoxy transform the aesthetics of your garage, but it also adds durability and longevity to the floor. In this comprehensive guide, we’ll delve into the benefits of epoxy coatings, compare top-rated garage floor epoxy products, and provide a step-by-step application process to help you achieve professional results.
Introduction to Garage Floor Epoxy
Garage floor epoxy is a thermosetting resin applied to concrete surfaces. When the epoxy resin is mixed with a hardening agent, it creates a chemical bond with the concrete, resulting in a surface that’s resistant to stains, chemicals, and wear. This coating not only enhances the appearance of your garage but also provides a protective layer that can withstand heavy traffic and harsh conditions.
The Benefits of Using Epoxy Coatings on Your Garage Floor
Applying an epoxy coating to your garage floor comes with a multitude of benefits that go beyond just aesthetics.
1. Superior Durability
Epoxy coatings are known for their exceptional durability. They can handle heavy vehicles, machinery, and constant foot traffic without cracking or peeling. This makes epoxy one of the best garage floor coating options available.
2. Enhanced Appearance
With a glossy finish and a variety of color options, epoxy coatings can significantly improve the look of your garage. You can even add decorative flakes or metallic pigments for a customized appearance.
3. Easy Maintenance
The seamless surface of an epoxy-coated floor makes cleaning a breeze. Spills can be wiped away easily, and the floor resists stains from oil, chemicals, and other substances.
4. Increased Safety
Epoxy floors can be formulated to be slip-resistant, reducing the risk of accidents. They also reflect light, which can brighten up your garage and improve visibility.
5. Cost-Effective
Considering its longevity and low maintenance requirements, epoxy flooring is a cost-effective solution in the long run. It protects the underlying concrete, saving you money on repairs and replacements.
Comparing Top-Rated Garage Floor Epoxy Products
Choosing the right epoxy product is crucial for achieving the desired results. Here’s a comparison of some of the top-rated garage floor epoxy products on the market:
Product A: ProShield Epoxy Kit
ProShield offers a professional-grade epoxy kit that’s perfect for DIY enthusiasts. It provides a high-gloss finish and comes with decorative flakes for added flair. Users praise its easy application and excellent coverage.
Product B: Duramax Industrial Epoxy
Duramax is known for its industrial-strength formula, making it ideal for heavy-use garages. It’s resistant to chemicals and abrasions, ensuring a long-lasting finish.
Product C: QuickSeal Epoxy System
QuickSeal’s fast-drying formula allows you to complete your project in less time. It’s user-friendly and offers a durable finish that’s resistant to peeling and cracking.
When selecting the best garage floor coating for your needs, consider factors like durability, drying time, ease of application, and customer reviews.
Step-by-Step Guide to Applying Epoxy Coating in the Garage
Applying an epoxy coating is a manageable DIY project if you follow the proper steps. Here’s how to do it:
Materials Needed
- Epoxy floor coating kit
- Concrete cleaner or degreaser
- Concrete patching compound
- Paint rollers and brushes
- Protective gear (gloves, goggles, mask)
- Painter’s tape
- Pressure washer (optional)
Step 1: Prepare the Garage Floor
Start by removing everything from your garage. Clean the floor thoroughly using a concrete cleaner or degreaser to remove oil stains, dirt, and debris. For best results, use a pressure washer to deep-clean the surface.
Step 2: Repair Cracks and Holes
Inspect the floor for any cracks or holes. Use a concrete patching compound to fill them in, following the manufacturer’s instructions. Allow the compound to dry completely before proceeding.
Step 3: Etch the Concrete
Etching opens up the pores of the concrete, allowing the epoxy to adhere better. Many epoxy kits come with an etching solution. Apply it evenly across the floor, following safety precautions as it can be corrosive. Rinse thoroughly and let the floor dry for at least 24 hours.
Step 4: Apply Painter’s Tape
Use painter’s tape to protect walls and any areas you don’t want to get epoxy on. This ensures clean edges and a professional finish.
Step 5: Mix the Epoxy
Mix the epoxy resin and hardener according to the kit’s instructions. It’s crucial to get the proportions right for the epoxy to cure properly. Some kits require you to mix in decorative flakes or anti-slip additives at this stage.
Step 6: Apply the First Coat
Starting from the farthest corner of the garage, apply the epoxy using a roller. Work in small sections to ensure even coverage. Use a brush for edges and tight spots. If you’re adding decorative flakes, sprinkle them onto the wet epoxy as you go.
Step 7: Apply the Second Coat
After the first coat has dried (usually within 12-24 hours), apply a second coat for added durability and a smoother finish. Follow the same application process as before.
Step 8: Let It Cure
Allow the epoxy to cure fully before moving items back into the garage. This can take anywhere from 72 hours to a week, depending on the product and environmental conditions.
Maintenance Tips for Long-Lasting Results
Proper maintenance will keep your epoxy-coated garage floor looking new for years.
Regular Cleaning
Sweep or vacuum the floor regularly to remove dirt and debris. For deeper cleaning, mop with a mixture of water and a mild detergent. Avoid using abrasive cleaners that can dull the epoxy’s shine.
Address Spills Immediately
While epoxy is resistant to most chemicals, it’s best to clean up spills promptly to prevent any potential staining or damage.
Use Protective Mats
Place mats under vehicles or areas where heavy tools are used to protect the floor from scratches or dents.
Avoid Dragging Heavy Items
Lift heavy objects instead of dragging them across the floor to prevent scratches or gouges in the epoxy.
Inspect Periodically
Check the floor periodically for signs of wear or damage. Early detection allows for quick repairs, extending the life of your epoxy coating.
Conclusion
Transforming your garage floor with an epoxy coating is a worthwhile investment that enhances both the functionality and appearance of your space. With numerous top-rated garage floor epoxy products available, you can find the perfect fit for your needs and budget. Whether you choose to tackle the project yourself or hire professionals, the result is a durable, attractive floor that stands the test of time.
Ready to give your garage the upgrade it deserves? Explore our range of Garage Epoxy Flooring and get started on your transformation today!
Transform Your Garage Floor with Triad Flooring in Seattle, Washington
If you’re looking to upgrade your garage floor with professional expertise, consider Triad Flooring. For 17 years, we’ve been serving the Seattle area with exceptional flooring solutions. We specialize in applying the best garage floor coating using top rated garage floor epoxy products.
Our team of experienced professionals ensures a seamless application process, resulting in a durable and visually stunning garage floor. With Triad Flooring, you can expect top-quality workmanship and a commitment to customer satisfaction.
Ready to transform your garage? Contact Triad Flooring today and let us provide you with a long-lasting, beautiful garage floor that enhances the value of your home.

